Quick Start
Using the default styles of View360
First, to use the default style provided by View360, you must include the CSS or SASS file provided by View360 in the page.
The simplest way is to include the CSS file in the <head> tag using the CDN link as href.
<head>
  <!-- Other tags... -->
  <link rel="stylesheet" href="https://naver.github.io/egjs-view360/release/latest/css/view360.min.css">
  <!-- Other tags... -->
</head>
Alternatively, some frameworks, such as React, allow you to import CSS files directly, depending on your environment like this:
import "@egjs/view360/css/view360.min.css";
Please check how to import CSS files in your environment and use the appropriate method.
View360 provides CSS and SASS files in the following formats:
@egjs/view360/css/*@egjs/view360/sass/*
Each of the framework packages has @egjs/view360 as a dependency module, so you can use it as above.
However, the same files are being exported within each framework package, so you can use exactly the same file even if you use the framework package as follows:
// The file is the same as @egjs/view360/css/view360.min.css
import "@egjs/react-view360/css/view360.min.css";
Basically, you can use the view360.min.css file (or sass/view360.sass) bundled with all styles.
Alternatively, you can only import certain CSS files to eliminate unnecessary styles.
For more information, please check the Applying CSS styles document.
Default HTML Structure
If you are using JS frameworks, you can skip this part.
In the framework, it is automatically rendered in the appropriate structure.
For example, in the case of React:
<View360 className="is-16by9" />
That renders to this:
<div class="view360-container is-16by9">
  <canvas class="view360-canvas" />
</div>
Two HTML elements are required to use View360.
- Container element (any tag can be used)
- By default, you should add class
view360-containerto it.
- By default, you should add class
- Canvas element(<canvas>)
- By default, you should add class
view360-canvasto it.
- By default, you should add class
The very basic structure looks like this:
<!-- Container element, with the id "viewer". -->
<div id="viewer" class="view360-container is-16by9">
  <!-- Canvas element -->
  <canvas class="view360-canvas" />
</div>
If you're using the CSS file provided by View360, you will not see anything on the screen before setting the ratio of the viewer.
For example, if you set up a markup as follows, nothing is displayed on the screen.
<div id="viewer" class="view360-container">
  <canvas class="view360-canvas" />
</div>
Don't worry, you just need to add one class to the container element.
In the examples in this page, the is-16by9 class is added to set the viewer to a 16:9 ratio altogether.
Please check the Applying CSS styles document for available ratios.
When rendered, the markup above displays like below. (The background color was intentionally added to show the area it holds.)
Since you only set the area, nothing is displayed so far.
So let's actually put View360 in that area to display a panoramic image.
However, there is something we need to check first.
Let's find out which projection to use.
360 images/video has a variety of formats, and View360 provides corresponding Projections.
Each demo page of the projections provided by View360 shows what type of image you can use, so you can check it out and choose the correct projection.
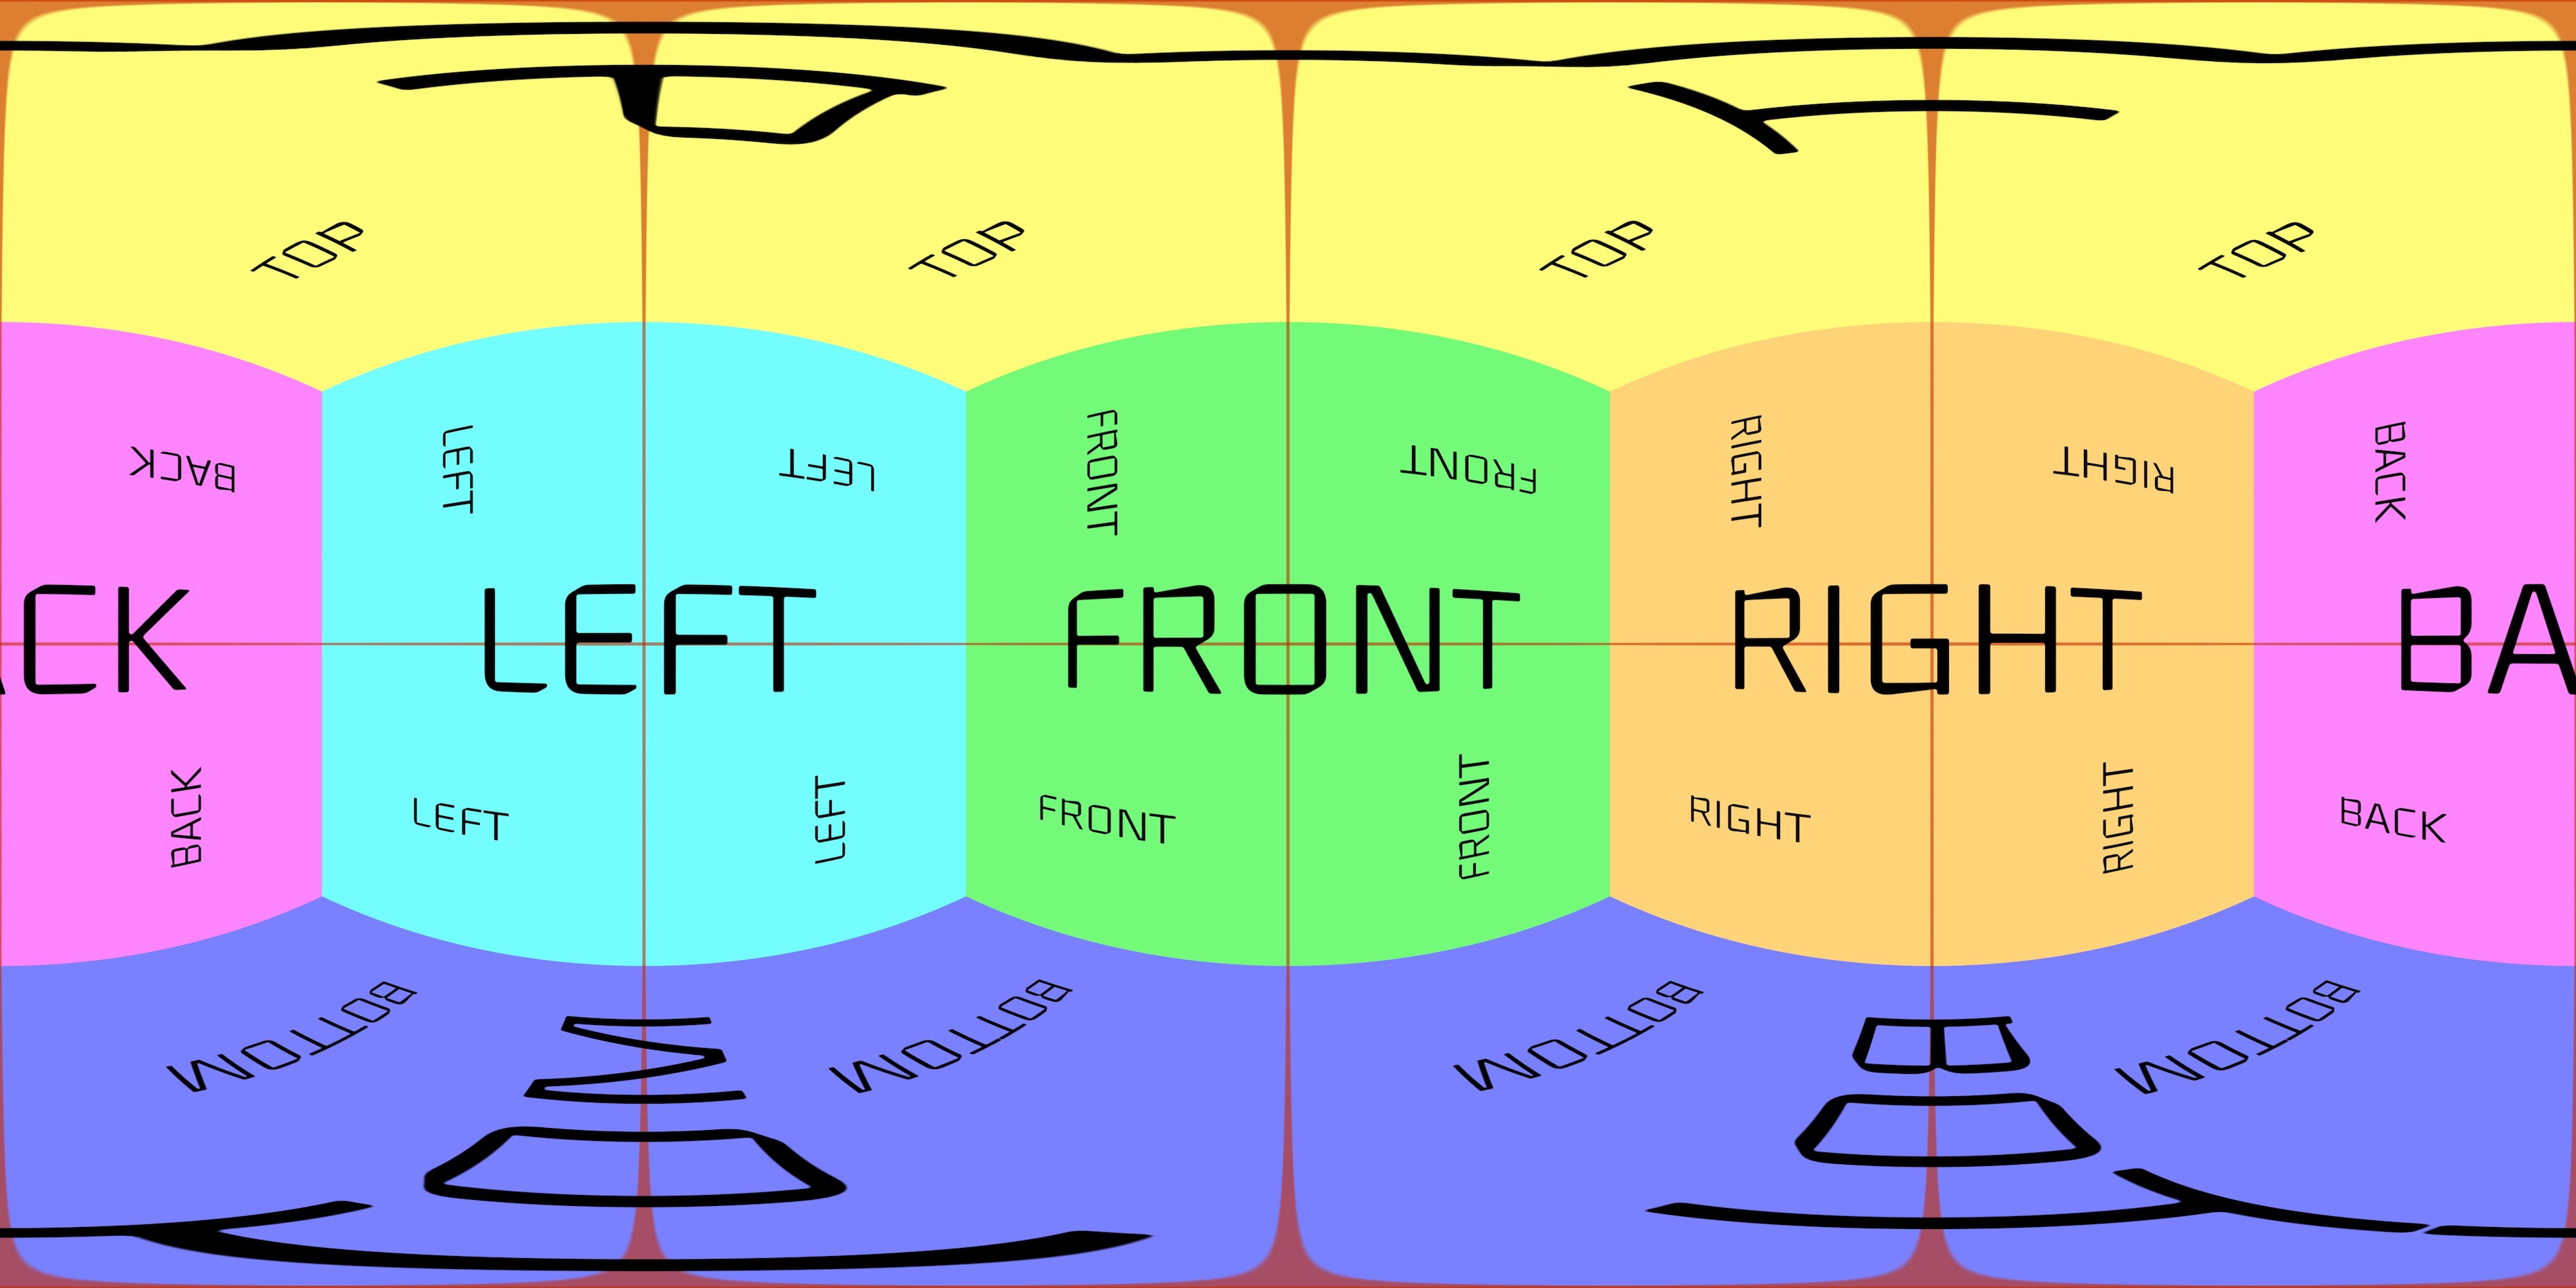
For example, the following types of images must be rendered using EquirectProjection:

Please refer to the link below for details.
Typical formats are supported by View360, so you can use them, but there are some formats that are not supported.
If it is not supported, convert to a supported format using ffmpeg or leave us an issue.
- 360 formats supported by ffmpeg: https://ffmpeg.org/ffmpeg-filters.html#v360
Let's display the image - 1. If you're using a bundler
If you're using View360 with a bundler, such as Webpack or Rollup,
or if you're using View360 in a modular style like Native JS module(script type="module"),
you can import View360 directly and use it as follows:
import View360, { EquirectProjection } from "@egjs/view360";

// You can use the CSS Selector that selects the container element as shown below (#viewer)
// Or you can use HTMLElement directly. (document.getElementById("viewer"))
const viewer = new View360("#viewer", {
  // It uses Equirectangular projection
  projection: new EquirectProjection({
    // Image URL to your 360 panorama image/video
    src: "URL_TO_IMAGE",
    // It's false, as it's gonna display image not video here
    video: false
  })
});
It is normal if it is shown like this below.
Let's display the image - 2. If you are using a CDN script.
If View360 is used through the <script> tag using the CDN link, View360 is loaded as UMD module.
In this case, the usage changes like follows:
- View360 is registered as a global variable named
View360. - All other variables or projections exported can be accessed in the form of
View360.XXX
Other uses are the same, and the following are examples.
<head>
  <!-- Load View 360 using script tags -->
  <script src="https://naver.github.io/egjs-view360/release/latest/dist/view360.pkgd.min.js"></script>
</head>
// View360 is registered globally.
const viewer = new View360("#viewer", {
  // EquirectProjection and all other items are stored as properties within View360.
  projection: new View360.EquirectProjection({
    src: "URL_TO_IMAGE",
    video: false
  })
});
Set options, listen to events, add plugins...
Now that you're done with the basic rendering, it's time to customize viewer as you like.
View360 offers a variety of options for setting up cameras, controls, and more, and you can also use the events triggered in each situation to implement the desired behavior.
There are also plugins that provide basic UI or add-ons.
Check out the following documents.
Also, check out other tutorial documents on the sidebar.
If you have any questions, features you need, or bugs to report, feel free to post them on Github Issue.